FL Studio

FL Studio
Are you experiencing audio delays, crackling sounds, or slow performance while creating music? The right settings can make your music production experience much smoother. FL Studio offers different options that help you improve audio quality, control performance, and organize your workspace.
Beginners often ignore these settings when starting their first music project. However, a few simple adjustments can make a big difference. You can improve playback, reduce audio problems, and create a comfortable working environment.
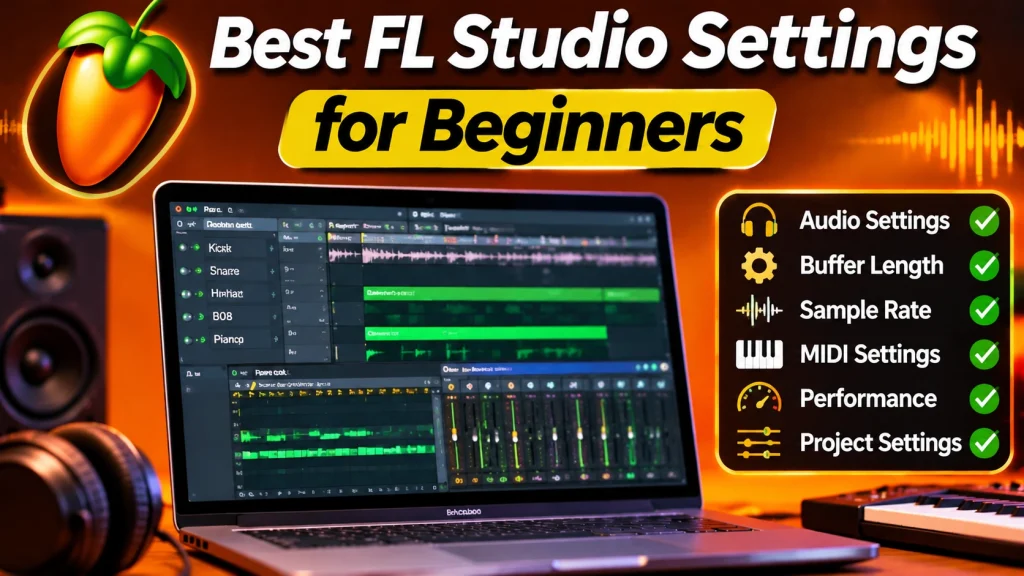
In this guide, you will discover the best settings for beginners. We will cover audio configuration, buffer size, sample rate, MIDI devices, project settings, and performance improvements. Follow these steps to set up your software correctly.
1. Best General Settings for FL Studio
Start by adjusting the general preferences. These settings help you customize the interface and control how the software behaves. FL Studio provides several options that make your workspace easier to manage.
How to Open General Settings
Follow these simple steps:
- Open the software on your computer.
- Click the Options menu.
- Select General Settings.
- Explore the available preferences.
- Adjust options according to your needs.
Recommended General Settings
Consider these beginner-friendly choices:
- Theme: Choose a comfortable interface theme.
- Language: Select your preferred language.
- Undo History: Keep enough history for editing.
- Auto Save: Use available backup options.
- Tooltips: Keep helpful descriptions enabled.
These settings can make your workflow more comfortable. Save your preferences after making changes.
2. Best Audio Settings for FL Studio
Audio settings are important for music production. Incorrect configuration can cause sound delays, crackling, and playback problems. FL Studio allows you to select an audio device and adjust different playback options.
Choose the Right Audio Device
Open Options and select Audio Settings. Find the Device section and choose a suitable audio driver.
For Windows users, these are common options:
- FL Studio ASIO: A convenient starting option for beginners.
- ASIO4ALL: An alternative driver for supported audio devices.
- Manufacturer ASIO Driver: Often suitable for external audio interfaces.
- Primary Sound Driver: Useful for basic playback, but it may have higher latency.
Choose the driver that works best with your computer and audio equipment.
Recommended Audio Settings
| Setting | Recommended Value |
|---|---|
| Sample Rate | 44.1 kHz or 48 kHz |
| Buffer Length | 256–512 samples |
| Audio Device | FL Studio ASIO or compatible ASIO driver |
| Audio Channels | Stereo |
| Playback Device | Your preferred audio output |
Your ideal settings depend on your computer and audio device. Test different options to find the best performance.
3. Best Buffer Length Settings for Beginners
Buffer length controls how much audio your computer processes at a time. It directly affects audio latency and system performance. FL Studio allows you to adjust this setting according to your music production needs.
What Buffer Length Should You Use?
A smaller buffer usually reduces audio delay. However, it requires more processing power.
A larger buffer reduces CPU pressure but can increase delay.
Here are useful starting points:
| Music Production Task | Buffer Length |
|---|---|
| Recording Vocals | 128–256 samples |
| Playing MIDI Instruments | 128–256 samples |
| General Music Production | 256–512 samples |
| Mixing Large Projects | 512–1024 samples |
How to Change Buffer Length
- Open Audio Settings.
- Find the Buffer Length option.
- Select a suitable value.
- Play your project.
- Listen for delays or crackling sounds.
- Adjust the value if necessary.
If your audio starts breaking, increase the buffer length.
4. Best Sample Rate Settings for FL Studio
Sample rate determines how many audio samples your system processes each second. Choosing a suitable value helps maintain consistent audio quality. FL Studio supports common sample rates used in music production.
Which Sample Rate Is Best?
Beginners can start with these options:
- 44.1 kHz: Common for music production and audio distribution.
- 48 kHz: Common for video and multimedia projects.
- 96 kHz: Useful for some specialized workflows but requires more processing power.
For most beginners, 44.1 kHz or 48 kHz is a practical choice.
Keep Your Audio Devices Consistent
Use compatible sample rate settings across your audio device and project. This can help prevent unnecessary conversion and playback problems.
You do not need a very high sample rate for every project. Focus on clean recording and proper mixing.
5. Best CPU and Performance Settings
Large projects can use significant processing power. Multiple instruments, plugins, and effects may slow down your computer. FL Studio includes performance options that help manage CPU usage.
Enable Multithreaded Processing
Open the Audio Settings and explore the processing options.
Enable suitable multithreaded settings for your computer. These options can help distribute processing across available CPU cores.
Tips to Improve Performance
Try these simple improvements:
- Close unnecessary background applications.
- Use compatible and updated audio drivers.
- Avoid opening too many plugins together.
- Freeze or render demanding instrument parts when appropriate.
- Keep enough free storage space.
- Save large projects regularly.
Monitor CPU Usage
Watch the CPU meter while playing your project. If it becomes too high, reduce demanding effects or increase the buffer length.
6. Best MIDI Settings for Beginners
MIDI allows you to control virtual instruments using a keyboard or another compatible controller. It makes melody creation easier for musicians. FL Studio supports MIDI devices that help you play notes and control instruments.
How to Connect a MIDI Keyboard
Follow these steps:
- Connect your MIDI keyboard to the computer.
- Open the Options menu.
- Select MIDI Settings.
- Find your connected device.
- Enable the input option.
- Select the required controller type if supported.
- Test the keyboard with a virtual instrument.
Useful MIDI Tips
- Use a compatible USB or MIDI connection.
- Check that your device appears in the input list.
- Update your keyboard drivers when needed.
- Adjust note velocity for more natural performances.
- Save your MIDI configuration.
If you do not own a MIDI keyboard, you can still create melodies using the Piano Roll.
7. Best Project Settings for Music Production
Project settings help you organize your music from the beginning. Choosing a suitable tempo, time signature, and file location can make editing easier. FL Studio provides flexible project options for different music styles.
Choose the Right Tempo
Your tempo depends on the type of music you want to create.
| Music Style | Common BPM Range |
|---|---|
| Hip-Hop | 70–100 |
| Trap | 130–160 |
| House | 118–130 |
| Lo-Fi | 60–90 |
| Pop | 100–130 |
These ranges are general suggestions. You can experiment with different speeds.
Organize Your Project Files
Keep your projects organized by following these tips:
- Use clear project names.
- Save projects in separate folders.
- Keep samples organized.
- Create backups of important files.
- Store exported music separately.
Good organization helps you find files quickly and avoid losing important work.
8. Common FL Studio Settings Problems and Solutions
Beginners sometimes experience technical problems after changing settings. Most issues have simple solutions. FL Studio provides different configuration options that can help you identify and fix common problems.
Audio Is Not Working
Check your selected audio device. Make sure your speakers or headphones are connected correctly.
Audio Keeps Crackling
Increase the buffer length and close unnecessary applications. Also, check your audio driver.
MIDI Keyboard Is Not Responding
Open MIDI Settings and check whether your device is enabled. Reconnect it if necessary.
Software Is Running Slowly
Close unused plugins and reduce demanding effects. Check CPU usage and update your audio drivers.
Frequently Asked Questions
What Are the Best Audio Settings for Beginners?
Start with 44.1 kHz or 48 kHz and a buffer length of 256–512 samples. Adjust these values according to your computer.
Which Audio Driver Is Best?
FL Studio ASIO is a convenient starting option on Windows. A compatible manufacturer ASIO driver may work better with an external audio interface.
Does Buffer Length Affect Audio Quality?
Buffer length mainly affects latency and playback stability. It does not directly improve the quality of your exported audio.
Is 44.1 kHz Better Than 48 kHz?
Both are useful. Choose 44.1 kHz for common music workflows or 48 kHz for many video projects.
How Can I Reduce CPU Usage?
Close unnecessary programs, increase buffer length, and reduce demanding plugins or effects.
Final Words
Choosing the right settings can make music production easier and more enjoyable. FL Studio provides flexible audio, MIDI, and performance options for different computers and production styles.
Start with the recommended settings in this guide. Test your audio device and adjust the buffer length according to your needs. Keep your projects organized and monitor system performance.
You do not need complicated configurations to create great music. Learn the basic settings first and improve your setup as your production skills grow.